Embarking on the journey of car paint correction can be both exciting and daunting, especially for beginners. The process of restoring a vehicle’s paintwork to its original glory requires patience, skill, and the right tools. Whether you’re a DIY enthusiast or seeking professional services in Sydney, mastering the art of paint correction is essential for achieving stunning results. Here are five essential tips to help beginners navigate the world of car paint correction effectively.
1. Understand the Basics
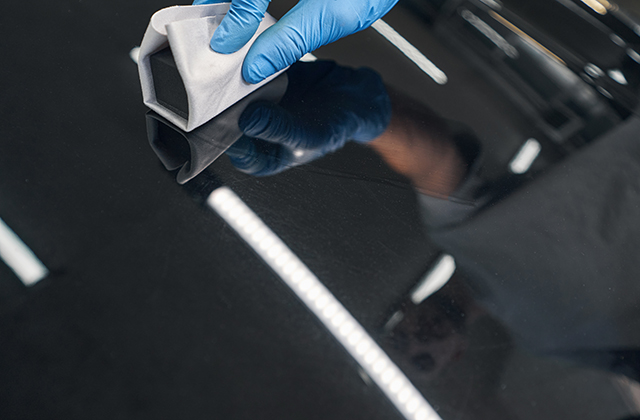
Before diving into paint correction, it’s crucial to understand the basics of automotive paintwork. Modern cars typically feature a clear coat layer atop the colored base coat, which provides gloss and protection. Surface imperfections such as swirl marks, scratches, and oxidation can mar this clear coat, affecting the overall appearance of the vehicle. Sydney superior paint correction involves removing these imperfections through a series of polishing and buffing techniques, restoring the paint’s clarity and shine.
2. Invest in Quality Products and Tools
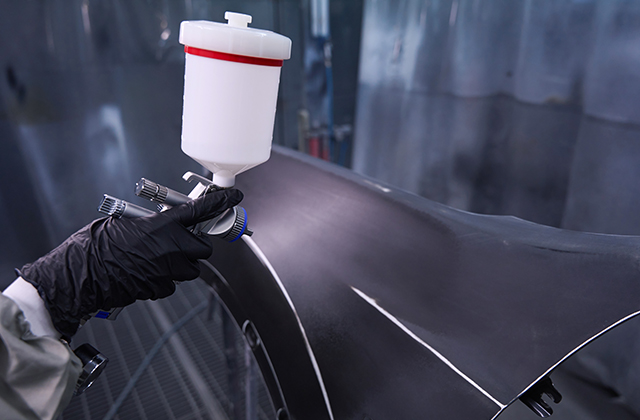
The key to successful paint correction lies in using high-quality products and tools. From polishing compounds and buffing pads to dual-action polishers, investing in reputable brands ensures better results and minimizes the risk of damage to the paint surface. In Sydney, automotive detailing shops and online retailers offer a wide range of professional-grade products tailored to different paint correction needs. Researching and selecting the right products for your specific requirements is essential for achieving optimal outcomes.
3. Start with a Test Spot
Before tackling the entire vehicle, it’s advisable to perform a test spot to assess the effectiveness of your chosen products and techniques. Select an inconspicuous area, such as a small section of the hood or trunk, and conduct the paint correction process step by step. This allows you to gauge the level of correction needed and adjust your approach accordingly. Additionally, testing ensures compatibility with the car’s paintwork and helps prevent potential issues such as paint burn or haze.
4. Practice Proper Technique
Proper technique is paramount when it comes to paint correction, particularly for beginners. Start with the least aggressive methods and gradually increase intensity as needed, always erring on the side of caution to avoid over-correction. Use light to moderate pressure when polishing and ensure even coverage across the entire surface. Keep the polishing pad flat against the paint and work in small sections to achieve consistent results. Take breaks periodically to inspect your progress and make adjustments as necessary.
5. Prioritize Paint Protection
Once you’ve corrected the paint to your satisfaction, it’s essential to protect the newly restored finish from future damage. Applying a quality paint sealant or ceramic coating provides an additional layer of protection against environmental contaminants, UV rays, and water spotting. These protective coatings not only enhance the gloss and depth of the paint but also make maintenance easier in the long run. In Sydney, professional detailing services often offer paint protection packages tailored to complement the paint correction process, ensuring lasting results and maximum durability.
In conclusion, mastering the art of car paint correction requires patience, practice, and attention to detail. By understanding the basics, investing in quality products and tools, conducting test spots, practicing proper technique, and prioritizing paint protection, beginners can achieve professional-grade results that rival those of seasoned professionals. Whether you’re tackling a DIY project or seeking professional services in Sydney, following these five essential tips will set you on the path to success in your paint correction endeavors. Sharing with you our link https://ceramiccoatingsydney.com.au/ for our car paint correction website.